Skip to content
Hard Drive Short DST Check Failed: What It Means and What to Do Before the Drive Dies
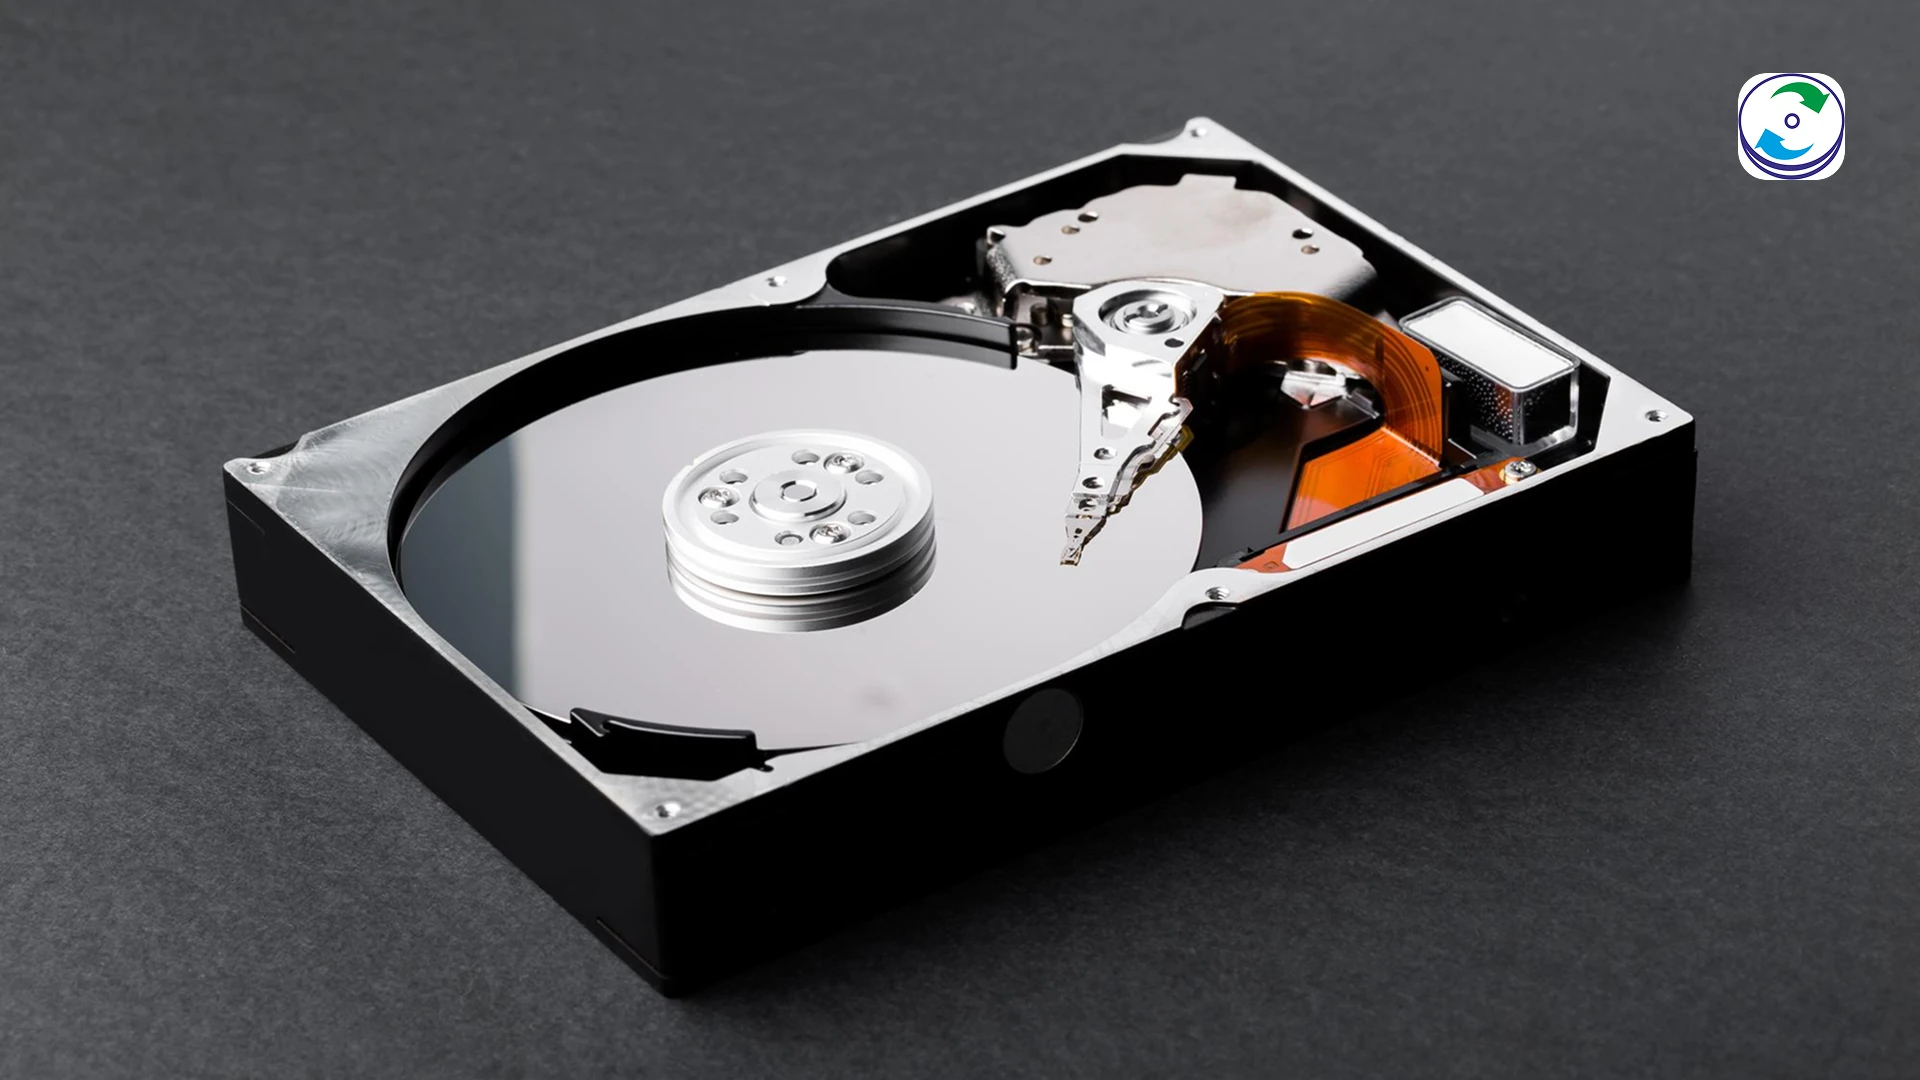
You ran the laptop’s built-in diagnostics because Windows was slow, freezing or refusing to boot, and the result came back “Hard Drive Short DST Check: Failed” — on an HP usually with a failure ID and a code such as Hard Disk 1 Quick (303), on a Dell as 2000-0142, on a Lenovo as a failed Quick Test. The wording varies; the meaning does not. The drive has tested itself and reported that it is failing.
This guide explains what the test measures, why the result is almost never a false alarm, what to do in the next hour if the data on the drive matters, and what a lab does when the drive is already past copying.
What the Short DST actually tests
DST stands for Drive Self Test. It is not a Windows tool or an HP tool — it is a routine built into the firmware of every SATA and most NVMe drives, defined by the ATA standard. The manufacturer’s diagnostics simply ask the drive to run it and report the result.
The short DST takes one to three minutes and checks the parts most likely to fail: the drive’s electronics, the read/write heads, the servo tracking that positions them, and a sample of sectors across the platters. The long (extended) DST reads every sector and can take hours on a large drive.
Because the drive runs the test on itself with no operating system involved, a failure means one of these:
- Media failure — the drive found sectors it could not read even after retries: bad sectors, a scratch, or a weak head.
- Head or servo failure — a head could not lock onto its track. The drive may click or chatter while testing.
- Electronics or firmware failure — the controller could not complete the test, or the SMART attributes have crossed a threshold.
Is a failed Short DST ever a false alarm?
Almost never. A loose cable produces a different result — the drive is not detected at all, or the test cannot start. A drive that starts the test and reports Failed has genuinely encountered an error inside itself.
What is true is that a drive with a failed Short DST can still boot Windows, sometimes for weeks. The failed sectors may not be in the operating system’s files yet. That window is the most valuable thing you have, and the most common mistake is to spend it re-running tests, running CHKDSK, or reinstalling Windows to “fix” the slowness.
The next hour: get the data off while you still can
If the computer still boots, or the drive can be read from another computer, do this before anything else:
- Stop the tests. Every extended diagnostic, every CHKDSK, every “deep scan” by recovery software reads the failing surface again and pushes a weak head over the damage.
- Plug in an external drive and copy the irreplaceable folders first — documents, photos, accounts, project files — in small batches rather than one enormous drag-and-drop. If a copy stalls or a file refuses to open, skip it and keep going; note what was skipped.
- Do not copy to the cloud as the first step. Uploads are slow and keep the drive spinning for hours. Copy locally, sync later from the healthy copy.
- Watch how the drive behaves. If it starts clicking, the copy speed collapses to a crawl, or the drive disappears and reappears, stop. It has moved from “failing” to “failed”, and further attempts cost data.
- Do not install anything on the failing drive — not recovery software, not Windows updates, not drivers. Every write can land on the space of a file you have not copied yet.
If the computer will not boot at all, the drive can be removed and read from another computer through a USB adapter — but only if it is not making any noise. A drive that clicks should not be powered on again outside a lab.
Reading the SMART data: how far gone is it?
If the drive is readable, a free SMART tool such as CrystalDiskInfo shows what the DST saw. The attributes that matter:
- 05 Reallocated Sectors Count — sectors the drive has already given up on and swapped for spares. Any non-zero value on a laptop drive is a warning; hundreds means the surface is deteriorating.
- C5 Current Pending Sector Count — sectors the drive could not read and is waiting to retry. These are your unreadable files.
- C6 Uncorrectable Sector Count — sectors that failed even after retries. The data in them is not coming back by copying.
- C7 UltraDMA CRC Error Count — the one attribute that is usually a cable or connector problem rather than the drive.
The health status the tool shows — Caution or Bad — is the same verdict the Short DST gave. A drive at Caution with a low pending count can usually be copied. A drive at Bad with pending and uncorrectable counts rising while you watch is a lab job.
Why CHKDSK and “repair” tools make it worse
CHKDSK /r, the manufacturer’s “repair” option and most partition tools were designed for logical errors on a healthy disk. On a drive with a failed DST they do three harmful things: they read the damaged areas repeatedly, they write to the drive to record their repairs, and when they hit a sector they cannot read they mark the file as damaged and move on — which is CHKDSK’s polite way of deleting it. A lab images the drive first and repairs the copy; the original is never written to.
After the data is safe: replace, don’t repair
A drive that has failed its Short DST does not get better. Once your data is copied or recovered:
- Replace the drive. On most laptops this is a 2.5-inch SATA drive or an M.2 SSD; a same-size SSD is the usual upgrade and costs less than the recovery would have.
- Reinstall Windows from HP Recovery, Dell OS Recovery or a Windows USB made on another computer, then restore your files from the copy.
- Keep the failed drive until you are certain everything you needed came across. It is the only source for anything you missed.
- If the laptop is under warranty, the failed DST code and failure ID are exactly what HP and Dell ask for — but a warranty replacement returns a blank drive. Get the data out first.
When copying is no longer possible: what the lab does
Bring the drive in when it clicks, is no longer detected, copies at a crawl, or the files you need are in the unreadable sectors. At DataCare Labs the analysis is free and takes 25–30 minutes; you get a firm quote before any work starts, and you pay only if the data is recovered.
- Sector-level imaging on hardware imagers that read the drive at reduced speed, retry failed sectors on their own schedule, and back off when a head struggles — the opposite of what a Windows copy does. Most failed-DST drives are recovered this way. Hard disk recovery starts at ₹3,000 for a single drive.
- Head replacement in the Class 100 clean room when a head has failed or is scraping: the head stack is swapped for a matched donor and the platters imaged before the donor wears. From ₹10,500.
- Firmware repair when the failure is in the drive’s service area rather than the user data. From ₹6,000.
- File reconstruction from the image, recovering files whose sectors were partly unreadable, and producing a list of what came back intact.
We recover from laptop drives, desktop hard disks and SSDs of every make. The lab is in Pune and drives reach us by courier from across India. Contact us or call +91 9859 070809 — and if the drive is clicking, please do not power it on again first.
Short DST failed — frequently asked questions
What the test means, whether the drive can still be used, and what recovery involves.
Still unsure what happened to your device? Call +91 9859 070809 — the analysis is free.