Skip to content
Hard Disk Not Installed on a Dell Laptop: 7 Fixes, and How to Tell the Drive Is Dead
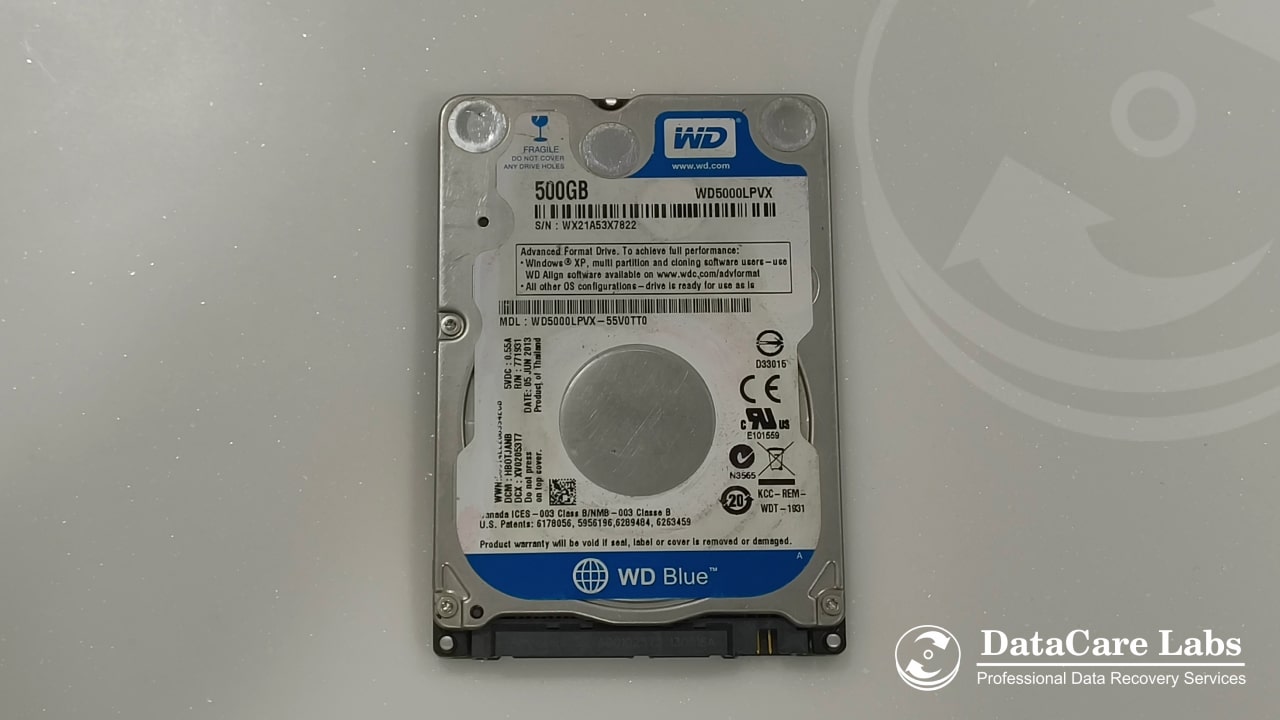
Your Dell laptop switches on, but instead of Windows you get “Hard Drive – Not Installed” in the BIOS, “Alert! Hard drive not found”, or “No bootable devices found”. All three mean the same thing: the computer looked for a storage drive and could not find one. Sometimes that is a loose connector or a BIOS setting and you will be back in Windows in ten minutes. Sometimes the drive has died and every extra power-on makes the data harder to recover.
This guide takes you through the seven checks in the order that keeps your data safest, tells you how to read Dell’s own diagnostic codes, and explains what to do when the answer turns out to be “the drive has failed”.
What “Hard Disk Not Installed” actually means
When a Dell starts, its BIOS asks each storage port whether anything is connected. A healthy drive answers with its model name, serial number and capacity within a second or two. If nothing answers, the BIOS records the port as Not Installed and, with no other bootable device, stops with the alert.
So the message is not about Windows, drivers or a corrupted file — those produce different errors, such as “Boot Device Not Found” or a blue screen. This one is lower down the stack: the drive is not identifying itself to the hardware at all. The five reasons that happens, roughly in order of how often we see them:
- A loose or damaged connector. A knock or drop unseats an M.2 SSD or a 2.5-inch SATA connector just enough to break contact.
- A BIOS setting changed. The SATA mode was switched between AHCI and RAID/Intel RST, secure boot or the boot list was altered, or a BIOS update reset it.
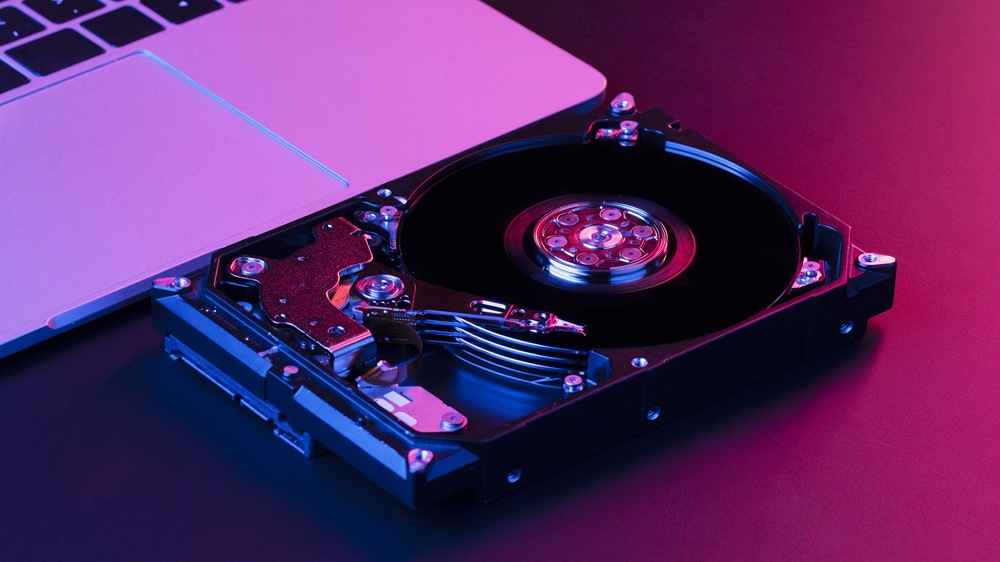
- Drive electronics or firmware failure. The platters and heads may be fine, but the controller board or its firmware no longer answers. Common after power surges and on some SSDs.
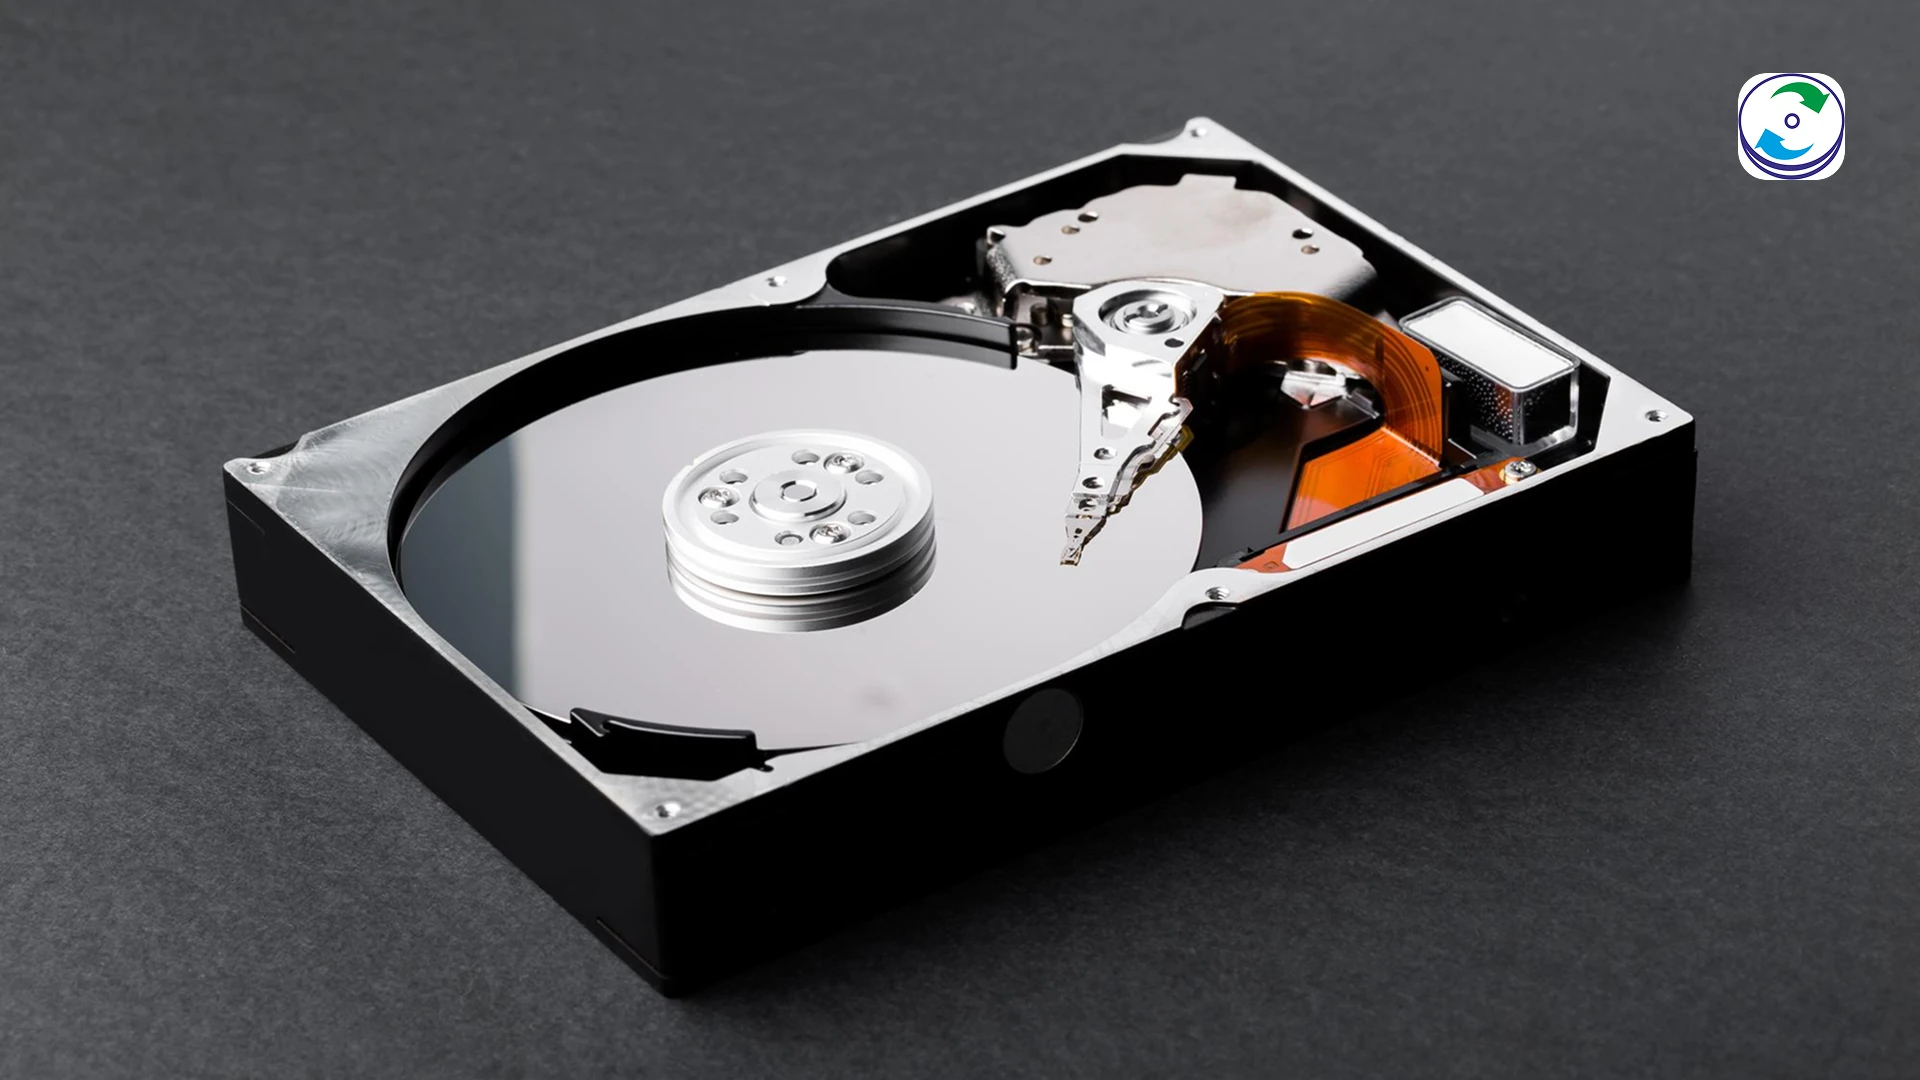
- Mechanical failure. The drive spins up and clicks, or does not spin at all — heads or motor. The data is intact on the platters but unreachable without clean-room work.
- An SSD that has “bricked”. NAND wear, a firmware bug or a power-loss event leaves the SSD refusing to identify itself, often showing a placeholder name or 0 GB when it does appear.
First: how much does the data on it matter?
Decide this before touching anything. If the drive holds the only copy of something you cannot replace, skip the trial-and-error below and go straight to the “when the drive is dead” section. Each power cycle of a mechanically failing drive can scrape more of the platter surface, and a professional lab would rather see a drive that has been switched on twice than twenty times.
If the data is backed up, or the laptop is more valuable than what is on it, work through the seven fixes in order.
Fix 1: Hard reset the laptop
A residual-charge reset clears a surprising number of “not installed” alerts that were caused by the drive not getting power in time at start-up.
- Shut down. Unplug the charger and any USB devices, docks and SD cards.
- If the battery is removable, take it out. On sealed models skip this step.
- Press and hold the power button for 15–30 seconds.
- Reconnect the battery and charger, and switch on.
Fix 2: Look for the drive in the BIOS
This single check tells you whether any software fix can work. Restart and tap F2 at the Dell logo to enter System Setup, then open System Information (or General → System Information on older BIOS versions). Look at the storage entries: M.2 PCIe SSD-0, SATA-0 and so on.
- The drive is listed with its model and capacity — the hardware sees it. The problem is the boot configuration or the operating system. Go to Fix 5.
- The drive is listed with a wrong or generic name, or 0 GB — the drive answers but its firmware is damaged. This is a data-recovery job, not a settings job; do not keep restarting.
- Every storage entry says Not Installed — go to Fixes 3 and 4. If they do not change the result, the drive or its connection has failed.
Fix 3: Run Dell’s built-in diagnostics and read the code
Restart and tap F12 at the logo, choose Diagnostics (ePSA or SupportAssist Pre-Boot System Assessment). The test runs without Windows and reports a code if the drive fails. The codes you are likely to see:
- 2000-0141 — Hard Drive: no drive detected. The same result as the BIOS: nothing is answering. Connection or dead drive.
- 2000-0142 — Hard Drive: self-test unsuccessful. The drive is present but its own Drive Self Test (DST) failed. It is failing and should not be trusted with the data it holds.
- 2000-0146 — Hard Drive: self-test log contains previous errors. The drive has already recorded failures. Back up or recover now.
- 2000-0151 — Hard Drive: incorrect status / SMART failure predicted. Treat as failing.
A 0142, 0146 or 0151 result on a drive that still appears in the BIOS is the most common situation we see in the lab: the laptop sometimes boots, sometimes does not, and the owner keeps trying. Stop while it still identifies.
Fix 4: Reseat the drive
If the BIOS shows nothing and the diagnostics return 2000-0141, the next question is whether the drive is physically connected. On most Dell laptops this means removing the base cover (usually 8–10 Phillips or Torx screws, sometimes captive) — check your model’s service manual on Dell’s support site first, and note that opening the laptop may affect its warranty.
- M.2 SSD: undo the single retaining screw, lift the SSD out at a shallow angle, check the gold contacts for dirt, push it firmly back into the slot and re-fit the screw.
- 2.5-inch SATA drive: disconnect the drive or its ribbon/interposer cable from the motherboard, check the cable for cracks, and reconnect until it clicks.
- Either type: while the cover is off, listen when you power on. A drive that clicks, beeps or buzzes rhythmically has a mechanical fault — stop there and do not test further.
Fix 5: Restore BIOS defaults and check the SATA mode
In System Setup (F2) choose Restore Settings → BIOS Defaults (or Load Defaults), save and reboot. If the drive is listed but Windows still will not load, check SATA Operation under System Configuration. Windows was installed under one mode — usually RAID On (Intel RST) on Dell consumer models, AHCI on many business models — and will blue-screen or fail to boot if the mode was changed. Set it back to whichever it was; if you do not know, try the other one and reboot.
Fix 6: Update the BIOS — only if the drive is sometimes detected
Dell publishes BIOS updates that fix drive-detection bugs, particularly for newer NVMe SSDs on older firmware. It is worth doing when the drive appears on some boots and not others. Download the update for your exact service tag from Dell’s support site on another computer, put it on a USB stick and flash it from the F12 menu (BIOS Flash Update). Do not attempt this on a laptop with a flat battery — a failed flash is a worse problem than the one you started with.
Fix 7: Test the drive in another computer or a USB enclosure
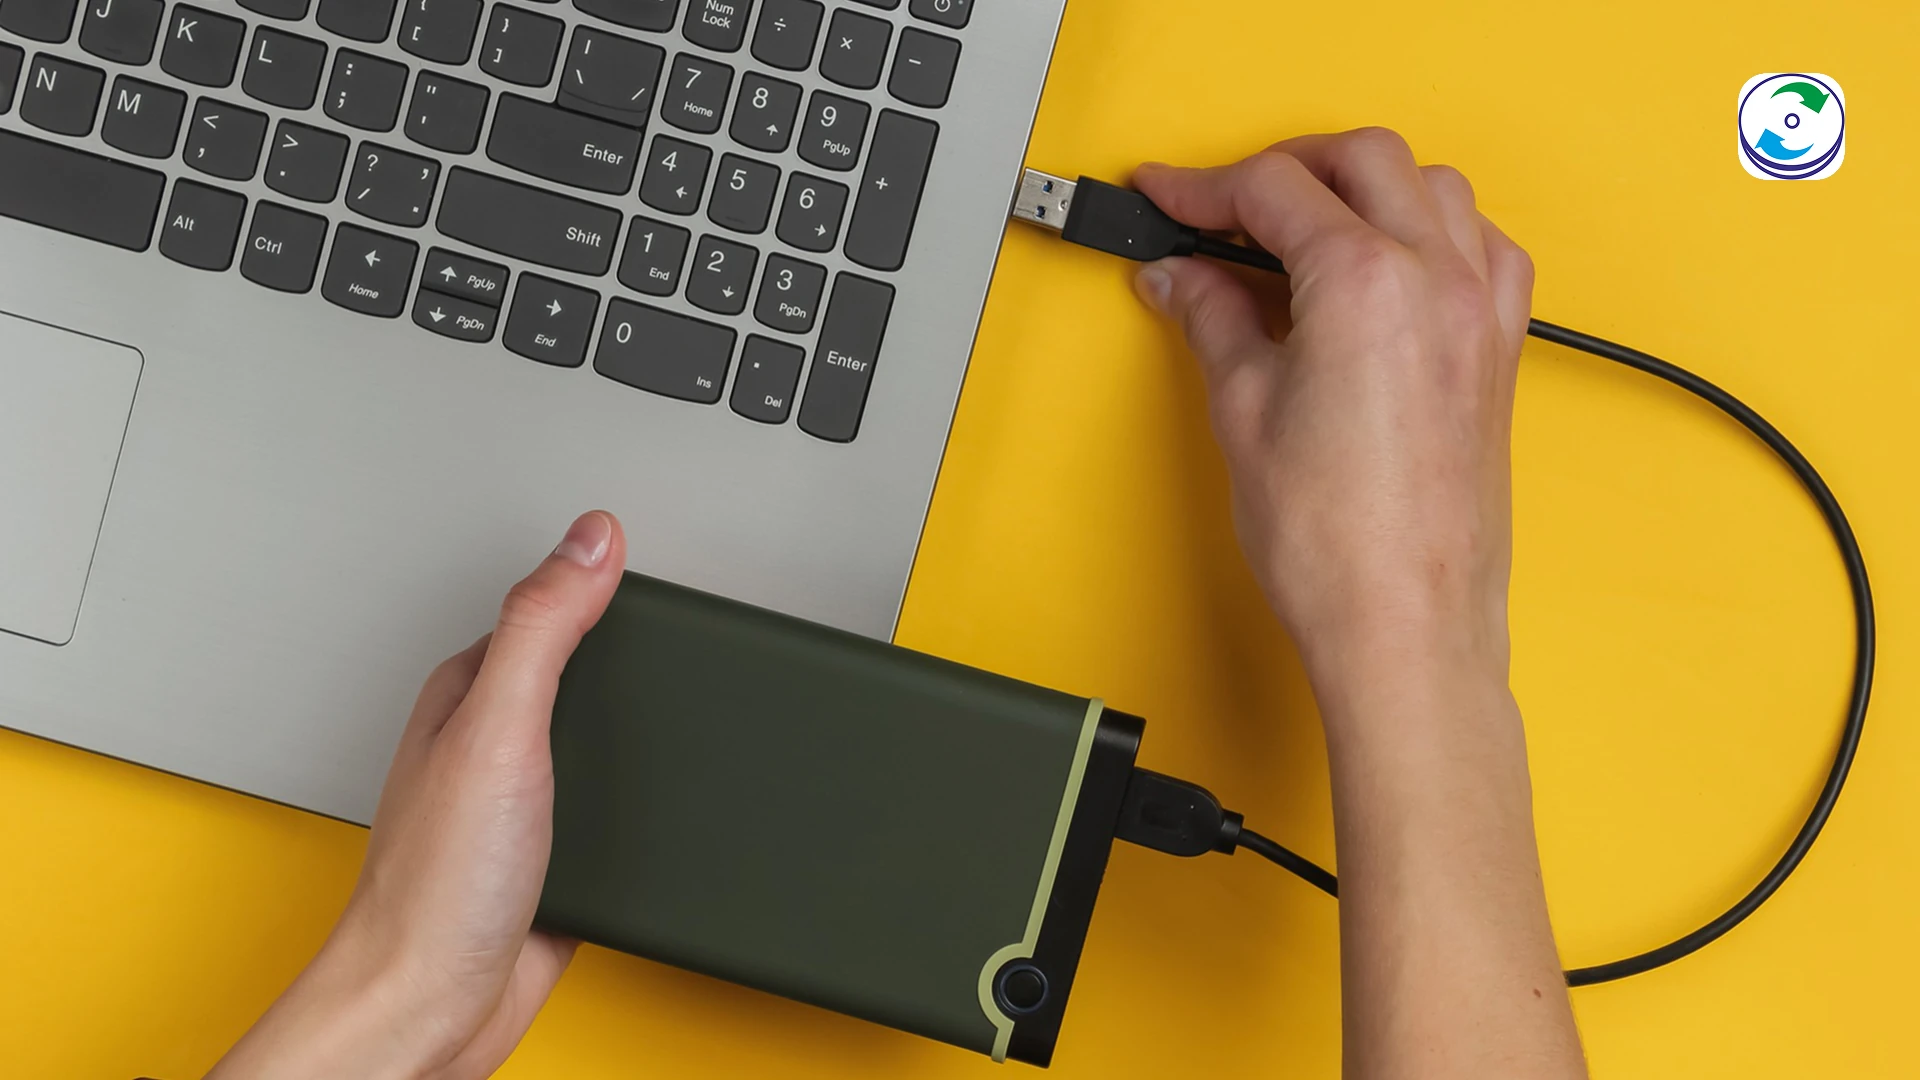
The definitive test. Remove the drive and connect it to a working computer — an M.2 NVMe USB enclosure or a SATA-to-USB adapter costs a few hundred rupees. If the drive shows up with its files, the fault is in the laptop (port, cable or board), and you can copy your data straight off before deciding what to do about the laptop. If it does not show up here either, the drive itself has failed.
One caution: if the drive appears but copying is very slow, files fail to open, or the drive disappears mid-copy, it is failing. Copy the irreplaceable folders first, in small batches, and stop when it starts to struggle.
When the drive is dead: what not to do
- Do not keep powering it on. A head crash spreads with every spin-up. Two attempts is enough to know.
- Do not open the drive. Hard-disk platters are exposed to airborne dust the moment the lid comes off; outside a clean room the data is gone in minutes.
- Do not freeze it, tap it or swap its circuit board. Modern drives keep drive-specific adaptive data on the board; a board from another drive will not read the platters and the freezer trick corrodes them.
- Do not reinstall Windows or run CHKDSK on it. Both write to the drive. CHKDSK in particular will happily “repair” a failing drive by discarding what it cannot read.
- Do not run recovery software on a drive that clicks. Software cannot help a mechanical fault, and the scan keeps the heads moving over the damage.
What a data recovery lab does with a Dell drive that says Not Installed
At DataCare Labs the analysis is free and takes 25–30 minutes once the drive reaches us — you get a firm quote before any work starts. What happens next depends on which of the five causes it turns out to be:
- Firmware failure (drive appears with a wrong name or 0 GB): the service-area modules are repaired or rebuilt with manufacturer-level tools and the drive is imaged sector by sector. Hard disk recovery from firmware faults starts at ₹6,000 for a single drive.
- Mechanical failure (clicking, not spinning): the drive is opened in the Class 100 clean room, the head stack or motor is replaced with a matched donor part, and the platters are imaged before the donor parts wear. From ₹10,500.
- Electronics failure: the board is repaired or the drive-specific ROM is transferred to a donor board, then imaged.
- SSD failure: the controller is put into a factory/technological mode and the NAND read directly, or the chips are read individually and the data reassembled. See SSD data recovery cost — SSDs start at ₹5,000.
- Logical faults (drive detected, data missing or unreadable): sector-level imaging followed by file-system reconstruction, from ₹3,000.
We recover from all Dell laptop and desktop drives — Inspiron, Latitude, Vostro, XPS, Precision and Alienware, both the SATA and NVMe types — on a no-data-no-charge basis. The lab is in Pune; drives arrive from every part of India by courier. Contact us or call +91 9859 070809.
Prevent the next one
- Keep one copy of anything that matters somewhere other than the laptop — an external drive or cloud storage. A drive that has failed once is not worth re-using even if a lab recovers it.
- Check the drive’s health every few months with a SMART tool such as CrystalDiskInfo. Reallocated or pending sectors on a laptop drive are a warning to replace it before it becomes a “Not Installed” alert.
- Carry the laptop shut down, not asleep — a sleeping laptop’s hard disk is still spinning when the bag hits the floor.
- Plug into a surge-protected socket. Board failures on desktop drives are very often a power event.
Dell “hard disk not installed” — frequently asked questions
The error, Dell’s diagnostic codes, and what recovery involves when the drive has failed.
Still unsure what happened to your device? Call +91 9859 070809 — the analysis is free.